1. Introduction
The PRPL Pattern
PRPL is a pattern for structuring and serving Progressive Web Apps (PWAs), with an emphasis on the performance of app delivery and launch. It stands for:
- Push critical resources for the initial URL route.
- Render initial route.
- Pre-cache remaining routes (using service workers).
- Lazy-load and create remaining routes on demand.
For more details on the PRPL pattern, see this Google Developers article. Credits to Keanu Lee for working on this codelab.
What Are We Building?
To demonstrate how to conceptualize and structure a web app that implements the PRPL pattern, we will build a simple list/detail view web application using Custom Elements to define components that can be lazily-loaded and Service Workers to pre-cache code. We will then deploy this app to Firebase Hosting which supports HTTP/2 Server Push.
What You'll Learn
- Structuring and implementing a web app that implements the PRPL pattern
- Defining components with Custom Elements
- Using Workbox CLI to generate a simple Service Worker
- Deploying a web app with HTTP/2 Server Push to Firebase Hosting
How would you describe your level of experience with web development?
How familiar are you with the PRPL pattern?
How will you use this tutorial?
2. Getting set up
Download the Code
Clone the repository from GitHub:
git clone https://github.com/PolymerLabs/prpl-ce-firebase.gitAlternatively, click the following button to download the latest version of the repository as a zip:
Navigate into (cd) into the downloaded prpl-ce-firebase (or prpl-ce-firebase-master) directory. The final directory contains the expected end state of this codelab and is provided for reference.
Install Tools
- Install Node.js
- Install Firebase CLI and Workbox CLI
npm install -g firebase-tools workbox-cliConfigure Firebase CLI
To use the Firebase CLI, you'll need a Firebase account. Login with a Google account and create a new project in the Firebase console, and login to the same account with Firebase CLI.
firebase loginTo configure Firebase CLI to use the newly created project, use the following command. Firebase will prompt you to select a project and add an alias (which can be any value, like staging).
firebase use --addUse Firebase CLI to Serve Your Web App
Run the following command to start a web server for your web app. Then, open a new browser window and load the URL specified in the console (e.g. http://localhost:5000/):
firebase serve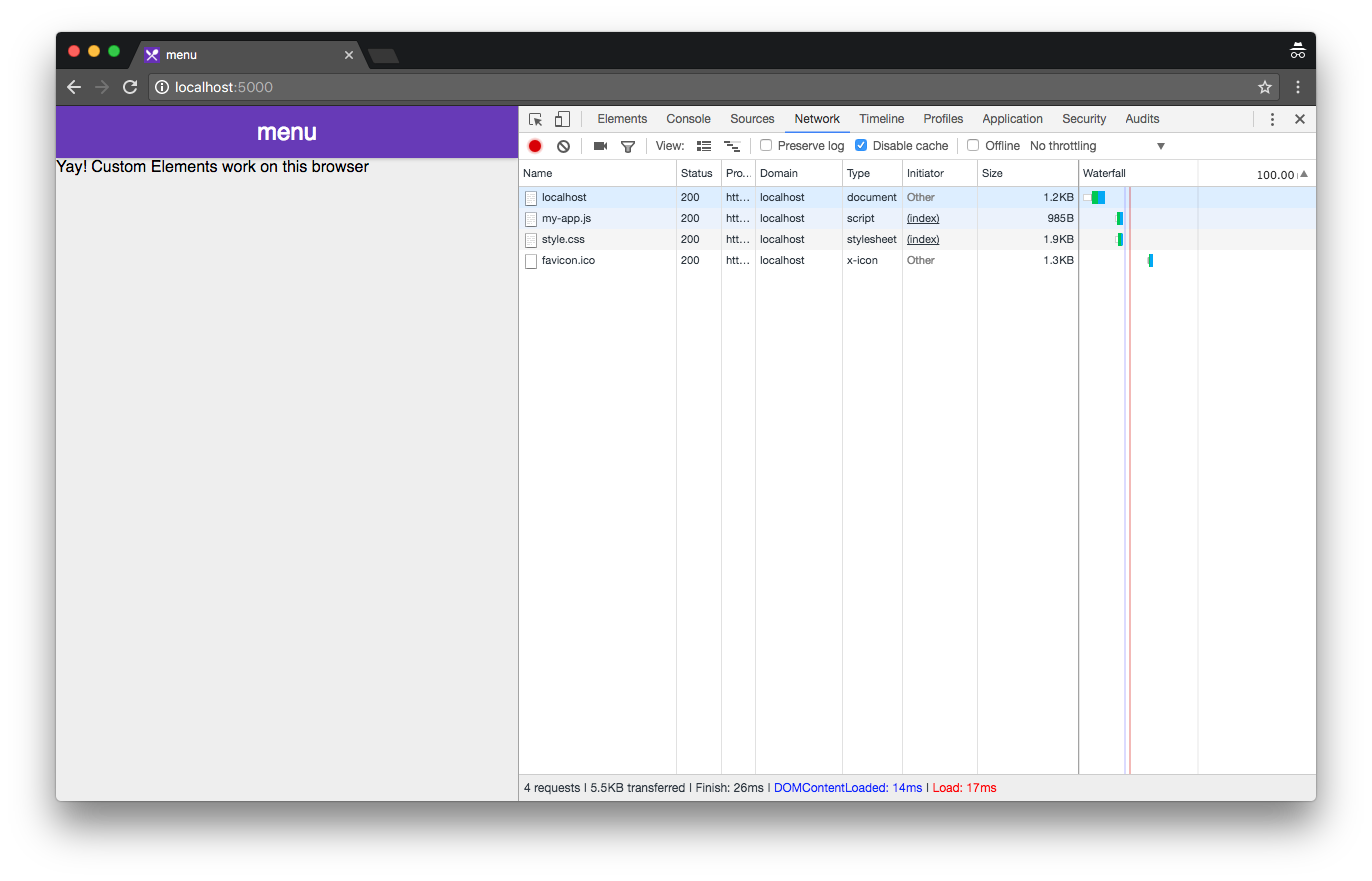
3. Structuring the App with Custom Elements
Defining the Top-level <my-app> Element
Custom Elements allow you to define behavior for custom HTML tags. In index.html, you'll see that we have 3 custom elements:
public/index.html
<my-app>
  <list-view></list-view>
  <detail-view></detail-view>
</my-app>
<my-app> is the top-level element, and we will use this element to control the rendering of <list-view> and <detail-view>. The element that is visible will be based on the current URL. To do so, we'll define a method called updateVisiblePage() that will modify the class list of <body> based on the current URL, and we'll call this method when the element is inserted into the DOM (connectedCallback()). Since the contents of <detail-view> depends on the URL as well, we'll set the path attribute on it so it knows which item to render.
public/elements/my-app.js
class MyAppElement extends HTMLElement {
  connectedCallback() {
    this.updateVisiblePage();
  }

  updateVisiblePage() {
    if (window.location.pathname.match('^/detail')) {
      document.body.classList.add('detail-view-active');
      this.querySelector('detail-view').setAttribute('path', window.location.pathname);
    } else {
      document.body.classList.remove('detail-view-active');
    }
  }
}In style.css, you can see that when the detail-view-active class is on <body>, we render <detail-view> in the viewport and disable scrolling on the main page:
public/style.css
body.detail-view-active {
  overflow: hidden;
}

body.detail-view-active detail-view {
  transform: translate3d(0, 0, 0);
  opacity: 1;
}
We'll need to update the visible page whenever the URL changes. To do so, we'll add a click listener for links and a popstate listener for browser navigation events.
public/elements/my-app.js
class MyAppElement extends HTMLElement {
  connectedCallback() {
    this.addEventListener('click', this.clickHandler);
    window.addEventListener('popstate', this.updateVisiblePage.bind(this));

    this.updateVisiblePage();
  }

  updateVisiblePage() {
    /* ... */
  }

  clickHandler(event) {
    if (event.button !== 0 || event.metaKey || event.ctrlKey) {
      return;
    }

    let element = event.target;
    while (element !== this) {
      if (element.tagName === 'A') {
        event.preventDefault();
        window.history.pushState(null, '', element.href);
        this.updateVisiblePage();
        return;
      }
      element = element.parentNode;
    }
  }
}
We'll also use my-app to lazily load the definition for list-view and detail-view as necessary.
public/elements/my-app.js
class MyAppElement extends HTMLElement {
  connectedCallback() {
    /* ... */
  }

  updateVisiblePage() {
    if (window.location.pathname.match('^/detail')) {
      this.loadElement('detail-view');
      document.body.classList.add('detail-view-active');
      this.querySelector('detail-view').setAttribute('path', window.location.pathname);
    } else {
      this.loadElement('list-view');
      document.body.classList.remove('detail-view-active');
    }
  }

  clickHandler(event) {
    /* ... */
  }

  constructor() {
    super();
    this.loadedElements = {};
  }

  loadElement(element) {
    if (this.loadedElements[element]) {
      return;
    }

    const script = document.createElement('script');
    script.src = `/elements/${element}.js`;
    document.head.appendChild(script);
    this.loadedElements[element] = script;
  }
}Defining the <list-view> Element
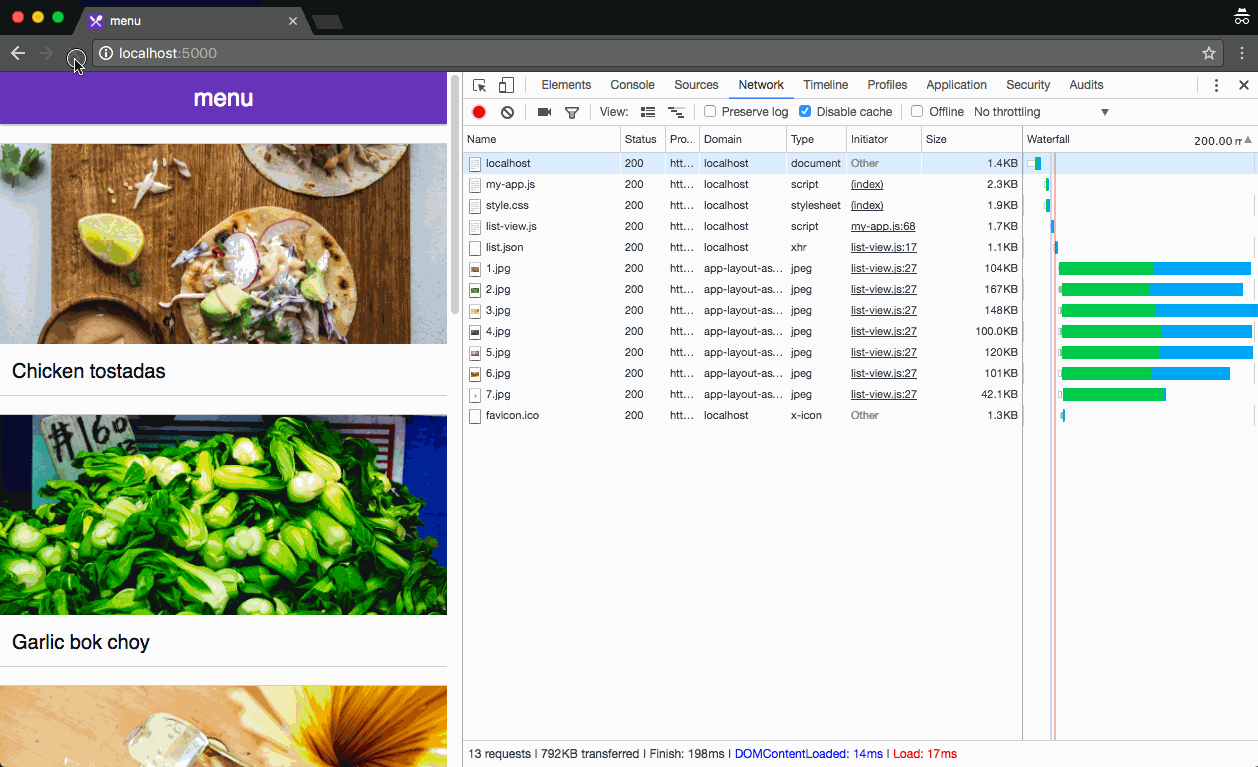
The <list-view> element requests and renders the contents of /data/list.json. Note that <list-view> will only render after it is defined, so by lazily loading the definition of this element we effectively postpone the request for data.
public/elements/list-view.js
class ListViewElement extends HTMLElement {
  connectedCallback() {
    var xhr = new XMLHttpRequest();
    xhr.open('GET', '/data/list.json');
    xhr.addEventListener('load', () => this.renderItems(JSON.parse(xhr.responseText)));
    xhr.addEventListener('error', () => this.showNetworkError());
    xhr.send();
  }

  renderItems(items) {
    this.innerHTML = items.reduce((a, item) => a + `
      <a href="/detail/${item.id}">
        <img src="${item.imageUrl}">
        <div>${item.name}</div>
      </a>`, '');
  }

  showNetworkError() {
    this.innerHTML = `
      <p class="error">No network connection</p>`;
  }
}

customElements.define('list-view', ListViewElement);Defining the <detail-view> Element
Similarly, the <detail-view> element requests and renders the contents of /data/detail/<#>.json. Note that this element observes for changes to the path attribute (see observedAttributes()), and when it does change, the element is re-rendered (see attributeChangedCallback()). Like <list-view>, <detail-view> is lazily loaded and rendered.
public/elements/detail-view.js
class DetailViewElement extends HTMLElement {
static get observedAttributes() {
return ['path'];
}
attributeChangedCallback(attr, oldValue, newValue) {
if (attr !== 'path' || !newValue) {
return;
}
this.innerHTML = '';
var xhr = new XMLHttpRequest();
xhr.open('GET', `/data${newValue}.json`);
xhr.addEventListener('load', () => this.renderItems(JSON.parse(xhr.responseText)));
xhr.addEventListener('error', () => this.showNetworkError());
xhr.send();
}
renderItems(item) {
this.innerHTML = `
<img src="${item.imageUrl}">
<a href="/" class="close-btn">×</a>
<div>
<h1>${item.name}</h1>
<p>${item.description}</p>
</div>`;
}
showNetworkError() {
this.innerHTML = `
<a href="/" class="close-btn">×</a>
<p class="error">No network connection</p>`;
}
}
customElements.define('detail-view', DetailViewElement);At this point the web app is functionally complete. In the next steps we will implement the rest of the PRPL pattern.
4. Using Service Worker to Cache Resources
Generating a Service Worker with Pre-caching
We will be using Workbox CLI to help us write our service worker. To configure the service worker, run the following:
workbox wizardYou will then be guided through a series of steps to specify options. The root of our web app is the public/ directory:
.png)
The next step asks which files we want to precache. We'll precache the static assets for our app (js, ico, html, and css files), but we'll leave out json files since they will be runtime cached instead (we'll cover this in a later step):
.png)
Next we specify the location of the generate service worker. We'll put this in the default public/sw.js:
.png)
Finally, we'll save these settings to the default workbox-config.js:
.png)
To build the service worker with the created config file, run this command:
workbox generateSW workbox-config.jsThis will create public/sw.js. We need to register this service worker in index.html. Wait until the page finishes loading so that network requests from the service worker don't affect the loading of the page.
public/index.html
<body>
  <my-app>
    <list-view></list-view>
    <detail-view></detail-view>
  </my-app>

  <script>
    if ('serviceWorker' in window.navigator) {
      window.addEventListener('load', function() {
        window.navigator.serviceWorker.register('/sw.js')
      });
    }
  </script>
</body>
This basic service worker will precache our static assets, but we'll need to specify more config options to make our app fully offline capable.
Specifying Additional Workbox CLI Config Options
We'll add these options so Workbox CLI will generate a service worker that will handle navigate requests and runtime caching:
workbox-config.js
module.exports = {
  "globDirectory": "public/",
  "globPatterns": [
    "**/*.{js,ico,html,css}"
  ],
  "swDest": "public/sw.js",

  /**
   * Added config options below. Don't forget the trailing comma (,) above.
   */

  /**
   * Activate this service worker on all active clients without reloading the page.
   */
  "skipWaiting": true,
  "clientsClaim": true,

  /**
   * All navigate requests should serve the contents of "index.html".
   */
  "navigateFallback": "index.html",

  /**
   * Runtime caching options.
   */
  "runtimeCaching": [
    /**
     * Use the "network-first" strategy for data. This means users will always get
     * up-to-date data if they have a reliable network connection, but falls back to
     * cached content otherwise.
     */
    {
      "urlPattern": /\/data\/.*/,
      "handler": "networkFirst"
    },

    /**
     * Use the "cache-first" strategy for images. This means that once an image is
     * cached, it will not be updated and waste the user's data. To update the image,
     * you would need to revision the image (e.g. by changing the filename).
     *
     * Cross-origin requests will always return a status of 0 - this needs to be
     * explicitly specified as cacheable when creating the handler.
     */
    {
      "urlPattern": /^https:\/\/prpl-ce-firebase\.firebaseapp\.com\/images\//,
      "handler": "cacheFirst",
      "options": {
        "cacheableResponse": {
          "statuses": [0, 200]
        }
      },
    }
  ]
};
Once this is done, re-generate the service worker with the same command:
workbox generateSW workbox-config.jsWith the service worker, this is how the app will load on the first load. Note how when the service worker is installed, it begins precaching static assets.
.png)
On the next page load, you'll see that static resources are loaded from the service worker without going to the network. Note that since this is the first time that images are loaded with the service worker installed, the service worker hasn't cached the images yet, so it has to make network requests for them.
.png)
If you reload again, you'll see that the images have been cached and that the service worker doesn't request for them.
.png)
5. Configuring HTTP/2 Server Push
HTTP/2 server push allows the web server to preemptively send resources to the browser before the browser has to request for them. Unlike inlining resources (like CSS and JS) in HTML, server push allows the browser to cache pushed resources independently and potentially reuse them.
Most servers that implement server push will use the Link: rel=preload HTTP header to determine what resources to send. Without server push, this response header tells the browser that it should begin downloading this resource before processing the page. This gives an opportunity for the browser to determine if a resource is already cached. Therefore, if it's likely that the resource is already cached, you may want to consider not pushing a resource to save data (which can be done by specifying Link: rel=preload; nopush).
There are many web servers available that support HTTP/2 server push. For this codelab, we will be using Firebase to demonstrate the type of configuration needed to implement server push (more details of Firebase support for HTTP/2 server push can be found on their blog post).
Within the hosting config object, add the following headers array to specify the resources that should be pushed with each route.
firebase.json
{
  "hosting": {
    "public": "public",
    "rewrites": [
      {
        "source": "/detail/*",
        "destination": "/index.html"
      }
    ],
    "headers": [
      {
        "source": "/",
        "headers": [{
          "key": "Link",
          "value": "</elements/my-app.js>;rel=preload;as=script,</style.css>;rel=preload;as=style,</elements/list-view.js>;rel=preload;as=script,</data/list.json>;rel=preload"
        }]
      },
      {
        "source": "/detail/*",
        "headers": [{
          "key": "Link",
          "value": "</elements/my-app.js>;rel=preload;as=script,</style.css>;rel=preload;as=style,</elements/detail-view.js>;rel=preload;as=script"
        }]
      }
    ]
  }
}
Restart the web server to load the modified configuration file:
firebase serveIf you examine the network timeline while loading the homepage now, you'll see that list-view.js and list.json are requested right after / finishes loading and its Link: rel=preload header is processed.
.png)
Note that that local dev server does not support server push. To see that in action, you'll need to deploy this project to Firebase and load it from Firebase servers. Use this command to push this project to Firebase hosting.
firebase deployIf you load the page at the given URL, you should see a similar network timeline as our demo site. Note how the network tab indicates that my-app.js, style.css, list-view.js, and list.json requests are initiated by push and how the waterfall shows almost no overhead for those requests.
.png)